We’ve just added a feature to the Publishing Module that allows anyone viewing session information on your site to add sessions to their personal or work calendar!
How to set it up:
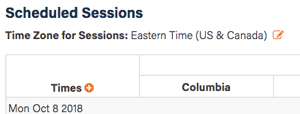
 In the Scheduling Module, there is now a setting at the top of the Scheduled Sessions panel for the time zone for the sessions (right). Just set it to wherever your conference is being held. For example, if your conference is in Austin, Texas, click the edit icon and select “Central Time (US & Canada)” from the drop-down list.
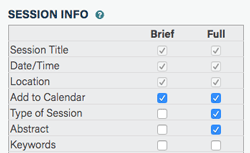
 In the Publishing Module, you will now see an item in the Session Info section labeled “Add to Calendar” (right). Just like with the other settings, if you check the box in the Brief column, the feature will show up in the Brief listings and if you check the box in the Full column, the feature will show up in the Full listings.
That’s it!
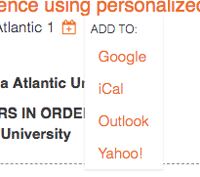
 Once the feature is enabled, visitors to your site will see a calendar icon next to the date/time/location line for each session. Clicking the icon displays a list of calendars the visitor can choose from (right). All the user has to do is pick a calendar and the session is added to it!
(Although Google, iCal, Outlook, and Yahoo! are the only calendars in the list, selecting iCal or Outlook generates an ICS file, which can be used by virtually any type of calendar to add an event.)
Try it out and let us know what you think!
